Recipe
Servings
Servings 1×
Ingredients
- Pasta
- Noodles
- Potatoes
- Cauliflower
- Zucchini
- Spinach
- Garlic
- Lemon
- Balsamic vinegar
- Butter
- Cooking oil
- Chili seasoning
- Salt
Method
- Pat your scallops dry with paper towels, let them sit for a few minutes, and then pat them dry again right before they hit the pan.
- Season them with salt only at the very last second.
- Use a heavy-bottomed skillet, stainless steel or cast iron is best, and get it screaming hot with a high-smoke-point oil.
If you think a gourmet meal requires hours in the kitchen, I’m here to change your mind. Scallops are the ultimate "cheat code" for home cooks who want elegance without the effort. When you treat them with a little respect and a lot of heat, they transform into buttery, golden pillows of pure joy. This is about real food that nourishes your soul and respects your schedule. In just 15 minutes, you can elevate your weeknight from mundane to magnificent, making this one of my favorite easy dinner recipes.
The Science of the Sear: Mastering the Maillard Reaction
To achieve that iconic, restaurant-quality crust, you have to understand the science happening in your pan. This isn't just "browning"; it’s the Maillard reaction. This is a chemical reaction between amino acids and reducing sugars that gives browned food its distinctive flavor. Because scallops are naturally sweet and high in protein, they are the perfect candidates for this transformation. However, there is a major obstacle standing in your way: moisture.
Water is the enemy of a good sear. If your scallops are wet, the heat from the pan will go into evaporating that water instead of browning the protein. This leads to steaming, which results in a rubbery, pale scallop. To avoid this, you must buy "dry-packed" scallops. Many grocery stores sell "wet" scallops that have been treated with sodium tripolyphosphate, a preservative that causes them to soak up excess water. Avoid these at all costs. Dry-packed scallops are natural and will actually sear rather than shrink and weep in the pan.
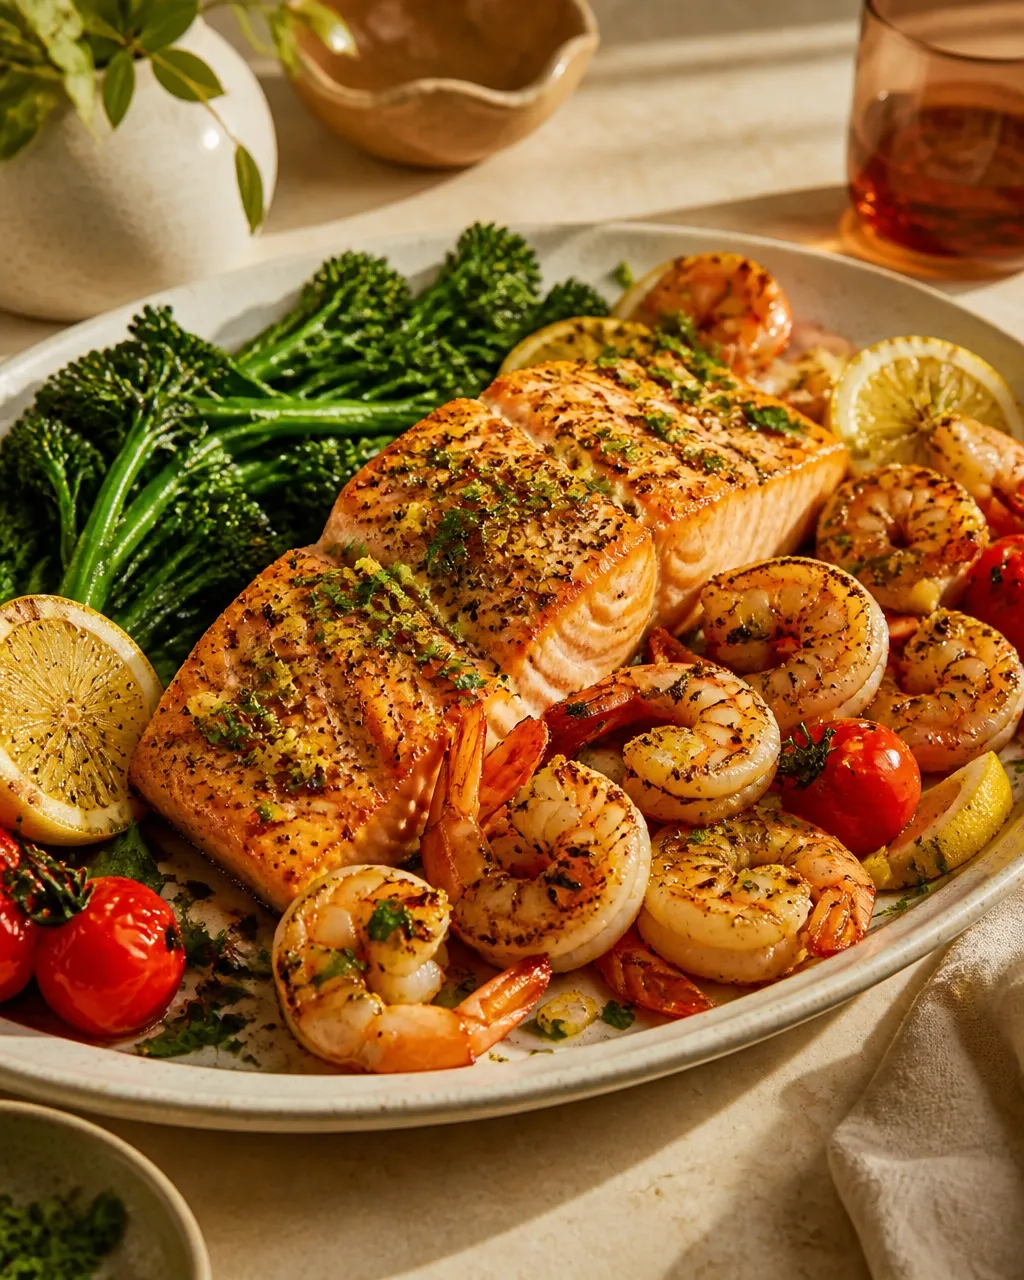
Once you have the right product, use the "double-dry" technique. Pat your scallops dry with paper towels, let them sit for a few minutes, and then pat them dry again right before they hit the pan. Season them with salt only at the very last second. Salt draws out moisture, so if you salt them too early, you’ll end up with a puddle. Use a heavy-bottomed skillet, stainless steel or cast iron is best, and get it screaming hot with a high-smoke-point oil. Only once that first side is golden and releases easily from the pan should you think about adding the butter. This keeps the butter from burning while the scallop develops its crust.
Soulful Variations: Personalizing Your Plate
While the classic garlic butter is hard to beat, you can easily adapt this dish to suit your mood or the season. If you’re looking for quick healthy meals that don't feel repetitive, small tweaks to your finishing aromatics can make a world of difference.
For a bright, Mediterranean twist, add a teaspoon of drained capers and a pinch of lemon zest to the butter as it foams. The saltiness of the capers cuts through the richness of the scallops beautifully. If you prefer a bit of heat, toss in a pinch of red chili flakes or a sliver of fresh Fresno chili when you add the garlic. This creates a "scampi" style flavor profile that is incredible over a small bed of zucchini noodles.
For a more earthy, autumnal vibe, swap the thyme for fresh sage leaves. As the sage fries in the butter, it becomes crispy and adds a nutty, sophisticated layer to the dish. You can even finish with a tiny drizzle of high-quality balsamic glaze right before serving to add a punch of acidity and sweetness that highlights the scallop's natural flavors.
Balancing the Plate: Side Dish Pairings
The richness of a garlic butter sauté needs a partner that brings balance. Think about acidity and texture. A simple arugula salad with a sharp lemon vinaigrette is my go-to. The peppery bite of the greens and the citrus acid act as a palate cleanser between bites of the buttery scallops.
If you need something more substantial, keep it fast. A 10-minute couscous or a bag of pre-washed baby spinach wilted directly in the same pan after the scallops are removed will soak up all those "brown bits" and garlic butter. This keeps your cleanup minimal and your meal cohesive. For those looking for easy dinner recipes that are low-carb, a quick cauliflower purée provides a creamy base that mimics the luxury of mashed potatoes without the heavy starch. Much like the technique I use for achieving the perfect glossy sauce in my pasta dishes, the key here is using the residual pan heat to finish your sides.
Frequently Asked Questions
Why do my scallops always stick to the pan?
Check your temperature and your patience. If the pan isn't hot enough, the proteins will bond to the metal. More importantly, don't try to flip them too early. A scallop will naturally "release" from the pan once the crust has formed. If you feel resistance, leave it alone for another 30 seconds.
Can I use frozen scallops for this?
Yes, but you must thaw them completely in the refrigerator and follow the drying steps even more strictly. Frozen scallops often release more moisture than fresh ones, so the "double-dry" method is non-negotiable here.
How do I know when they are actually done?
The "touch test" is reliable once you get the hang of it. A perfectly cooked scallop should feel like a marshmallow: springy but firming up. If it feels soft like raw meat, it needs more time. If it feels hard, it’s overcooked. Aim for an internal temperature of about 115°F (46°C); the carryover heat will bring it to the perfect 125°F (52°C) while it rests.
Is it okay to leave the little "tag" on the side?
Check each scallop for a small, tough muscle on the side (often called the "foot"). While it won't hurt you, it’s quite chewy and doesn't soften during the quick cooking process. Use your fingers to gently peel it off before searing; your teeth will thank you.
Can I make this dairy-free?
Absolutely. Use a high-quality vegan butter or simply stick to a flavorful olive oil. If using oil, add the garlic and herbs a bit earlier to infuse the oil, as you won't get the same "browning" effect you get with milk solids in real butter. It's still a fantastic option for quick healthy meals.
What if I burn the garlic?
Discard the butter and start the basting process over. Burnt garlic is bitter and will ruin the delicate flavor of the scallops. To prevent this, always add your garlic after the scallops have been flipped and the heat has been slightly reduced.
{“@type”:”BlogPosting”,”image”:[“https://cdn.marblism.com/BI3TYO-nHNI.webp”,”https://cdn.marblism.com/8od75GX0gWx.webp”,”https://cdn.marblism.com/RBUtEA-FUj1.webp”,”https://cdn.marblism.com/gyjh25TT2w8.webp”],”author”:{“url”:”https://cookpedia.com”,”name”:”Penny”,”@type”:”Person”},”@context”:”https://schema.org”,”headline”:”Soulful Sauté: 15-Minute Garlic Butter Scallops”,”keywords”:”easy dinner recipes, quick healthy meals, garlic butter scallops, pan seared scallops”,”publisher”:{“logo”:{“url”:”https://cookpedia.com/logo.png”,”@type”:”ImageObject”},”name”:”Cookpedia”,”@type”:”Organization”},”description”:”Master the art of pan-searing scallops in just 15 minutes. Learn the science of the Maillard reaction and how to get a restaurant-quality crust every time.”,”datePublished”:”2026-06-09T23:00:00″,”mainEntityOfPage”:{“@id”:”https://cookpedia.com/soulful-saute-15-minute-garlic-butter-scallops”,”@type”:”WebPage”}}