Recipe
Servings
Servings 1×
Ingredients
- Chicken
- Salmon
- Tofu
- Pasta
- Potatoes
- Avocado
- Lemon
- Balsamic vinegar
- Honey
- Butter
- Cooking oil
- Soy sauce or tamari
- Sesame
- Chili seasoning
Method
- Use a clean kitchen towel to pat away every drop of moisture.
- Use a large, heavy skillet: cast iron is my personal gold standard because it retains heat like a champion.
- Place every single sprout cut-side down in the hot oil.
- Arrange them with intent.
- Let them sit undisturbed for at least four to five minutes.
- Start with a high-smoke point oil like avocado or grapeseed.
If you still associate Brussels sprouts with the mushy, sulfurous grey blobs from school lunches, we need to have a serious talk. The sprout isn't the problem; the technique is. When treated with a bit of respect: and a lot of high heat: these tiny brassicas transform into nutty, sweet, and crispy morsels that anchor some of the best quick healthy meals in my repertoire. My soulful sauté method doesn't just "cook" the sprout; it coaxes out its hidden personality using the power of caramelization and a punchy balsamic finish.
In just fifteen minutes, you can turn a humble bag of greens into a side dish that honestly threatens to steal the spotlight from the main event. We’re moving beyond simple boiling and into the realm of high-impact flavor profiles that prove budget friendly recipes can feel like a luxury experience.
The Science of the Sear: Master the Maillard Reaction
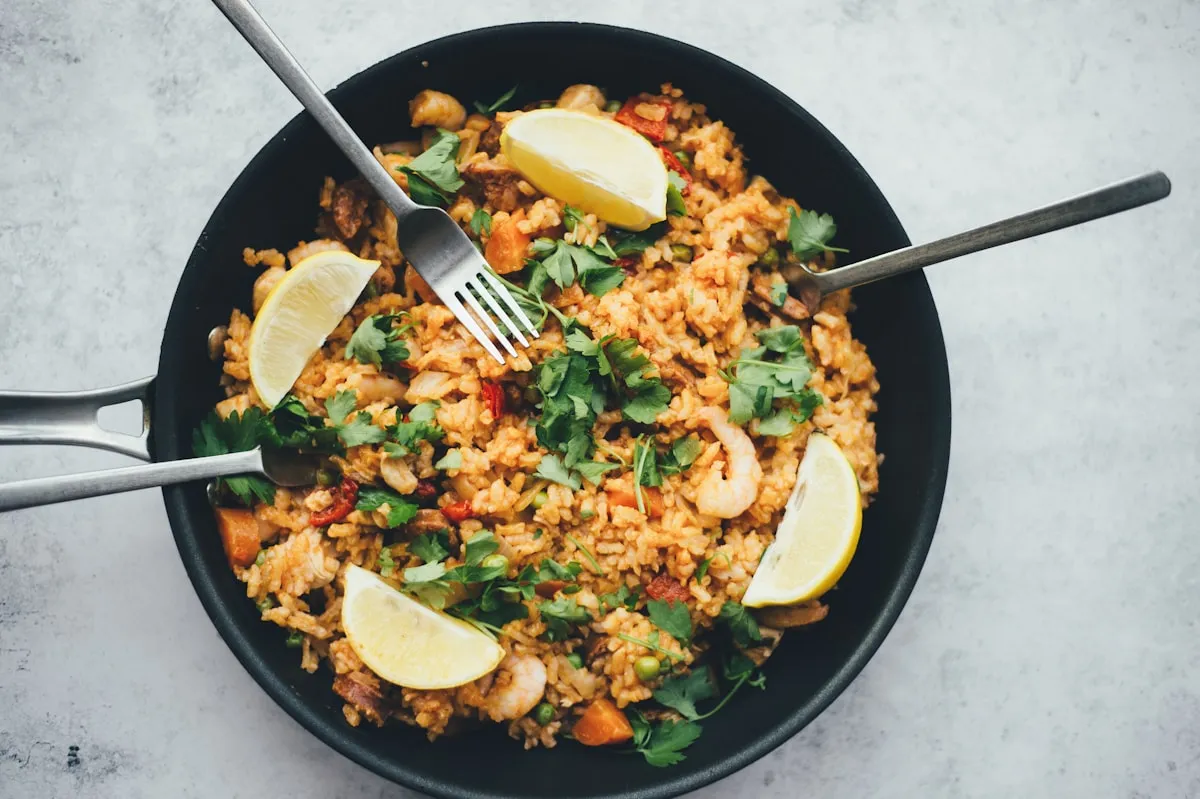
The secret to a soulful sprout lies in chemistry. Specifically, the Maillard reaction. This is the chemical reaction between amino acids and reducing sugars that gives browned food its distinctive, savory flavor. To achieve this with a Brussels sprout, you need three things: high heat, a dry surface, and patience.
Moisture is the Enemy
Avoid frozen sprouts if you want that elusive crunch. Frozen vegetables are blanched before freezing, which breaks down their cellular structure and introduces excess water. When they hit the pan, they steam rather than sear. Stick to fresh sprouts. After washing them, dry them like your dinner depends on it. Use a clean kitchen towel to pat away every drop of moisture. A wet sprout will never brown; it will only boil in its own juices.
Pan Management and the "Flat-Side" Rule
Use a large, heavy skillet: cast iron is my personal gold standard because it retains heat like a champion. When you halve your sprouts, you create a flat surface area. This is your primary contact point with the heat. Place every single sprout cut-side down in the hot oil. This is a non-negotiable step for healthy dinner ideas. Don't just dump them in and shake the pan. Arrange them with intent.
Resist the Urge to Stir
This is where most home cooks fail. You see the pan smoking slightly, you hear the sizzle, and you want to move things around. Don't. Let them sit undisturbed for at least four to five minutes. You are looking for a deep, dark brown: almost blackened: char on that flat side. This "burnt" edge is where the sweetness lives. It provides the bitter-sweet contrast that makes this dish so addictive. If you move them too early, you lose the crust, and you’re left with a sad, lukewarm vegetable.
Heat Control: Oil vs. Butter
Start with a high-smoke point oil like avocado or grapeseed. Extra virgin olive oil is fine, but be careful not to let it reach its breaking point. Avoid starting with butter. The milk solids in butter will burn long before the sprouts are properly charred. If you want that buttery richness, add a cold pat of butter in the final sixty seconds of cooking, just as you’re finishing the dish.
Balancing the Soul: The Balsamic Glaze Technique
Once your sprouts are tender-crisp and beautifully charred, it’s time for the "soul" part of the soulful sauté. Brussels sprouts are naturally alkaline and can have a lingering bitterness. To balance this, they crave acidity.
Balsamic vinegar is the ultimate partner because it brings both acid and natural sugars. When it hits the hot pan, the water evaporates instantly, leaving behind a thick, syrupy coating that clings to every leaf. This is a technique similar to achieving the perfect glossy sauce in pasta dishes. The goal is an emulsion that coats rather than a liquid that pools.
Lower your heat before adding the vinegar. You want a gentle bubble, not a violent evaporation that might turn the vinegar acrid. Toss the sprouts vigorously to ensure the glaze works its way into the layers. The result should be a glossy, dark finish that highlights the bright green of the sprout's interior.
Flavor Variations for Every Mood
While the basic balsamic sauté is a masterpiece on its own, it’s also a canvas for exploration. Depending on what’s in your pantry, you can pivot this dish to fit various quick family meals.
- The Sweet Heat: Add a teaspoon of honey or maple syrup to the balsamic before pouring it in. The extra sugar accelerates the glaze and adds a floral sweetness that pairs beautifully with a pinch of red chili flakes.
- The Umami Bomb: Swap half of the balsamic for soy sauce and add a drop of toasted sesame oil. This shifts the flavor profile toward an earthy, savory depth that works perfectly as a base for air fryer recipes dinner variations where you might add crispy tofu.
- The Salty Crunch: Sauté a bit of pancetta or bacon in the pan before adding the sprouts. Remove the crispy meat, cook the sprouts in the rendered fat, and toss the meat back in at the end. It adds a smoky dimension that makes this feel like a full meal.
- The Bright Finish: If you find the balsamic too heavy, finish with a squeeze of fresh lemon juice and a handful of toasted pine nuts. The citrus cuts through the richness and lightens the entire dish.
Pairing Your Sautéed Masterpiece
Because this dish is high in acidity and sweetness, you want to pair it with something that can stand up to those bold flavors. It works exceptionally well with rich, fatty proteins.
Think about serving these sprouts alongside a kielbasa and pierogi roast. The smokiness of the sausage and the starchiness of the pierogies provide the perfect backdrop for the zesty, charred sprouts.
For a lighter option, these are a dream with pan-seared salmon or a simple roasted chicken. If you're looking for budget friendly recipes that satisfy, serve them over a bed of creamy polenta or mashed potatoes. The creaminess of the starch absorbs the extra balsamic glaze, ensuring not a single drop of flavor goes to waste.
FAQ: Solving Your Sprout Struggles
Why are my Brussels sprouts always bitter?
Bitterness in sprouts is often the result of overcooking or under-seasoning. When you boil sprouts, you release sulfur compounds that taste "off." Sautéing them quickly over high heat prevents this. Also, don't be afraid of salt. Salt suppresses the perception of bitterness and enhances the natural sugars.
Can I use the air fryer for this?
Absolutely. While this post focuses on the soulful sauté in a pan, many air fryer recipes dinner fans love sprouts in the basket. Toss them in oil and salt, air fry at 400°F (200°C) for 12-15 minutes, then toss them in the balsamic glaze in a separate bowl once they are crispy. You lose a bit of the controlled "flat-side" sear, but you gain a lot of overall crunch.
My glaze turned into a hard caramel. What happened?
You likely had the heat too high or left the vinegar in the pan too long. Balsamic vinegar has a high sugar content. If you cook it for more than a minute or two on high heat, it will move past "glaze" and into "candy" territory. If this happens, add a splash of water or more vinegar to the pan and stir quickly to loosen it up.
How do I store and reheat them?
Sautéed sprouts are best fresh because they lose their crispness in the fridge. However, if you have leftovers, they make great healthy dinner ideas for the next day. Reheat them in a hot, dry skillet for 2-3 minutes to try and regain some texture. Avoid the microwave, which will turn them mushy and bring back those unwanted sulfur smells.
Do I need to remove the outer leaves?
Only the ones that are yellowed, torn, or excessively dirty. Those outer leaves that fall off in the pan are actually a chef’s treat: they turn into "sprout chips" that are incredibly crispy and flavorful. Don't throw them away!
{“@type”:”BlogPosting”,”image”:”https://cdn.marblism.com/NP7U529Z2aF.webp”,”author”:{“name”:”Cookpedia”,”@type”:”Organization”},”@context”:”https://schema.org”,”headline”:”Soulful Sauté: 15-Minute Balsamic Glazed Brussels Sprouts”,”publisher”:{“logo”:{“url”:”https://cookpedia.com/logo.png”,”@type”:”ImageObject”},”name”:”Cookpedia”,”@type”:”Organization”},”description”:”Learn the science of the perfect sear with our 15-minute balsamic glazed Brussels sprouts recipe. A soulful, budget-friendly, and healthy dinner idea.”,”datePublished”:”2026-06-09T03:00:00″,”mainEntityOfPage”:{“@id”:”https://cookpedia.com/soulful-saute-15-minute-balsamic-glazed-brussels-sprouts”,”@type”:”WebPage”}}