Recipe
Servings
Servings 1×
Ingredients
- Chicken
- Chickpeas
- Tortillas
- Bread
- Carrots
- Peas
- Cucumber
- Tomatoes
- Garlic
- Lemon
- Lime
- Tahini
Method
- Prepare the ingredients described in the article and heat the cooking surface or oven as directed.
- Cook the main ingredients using the heat and timing guidance in the article.
- Finish with the seasonings and garnishes named in the article, then serve.
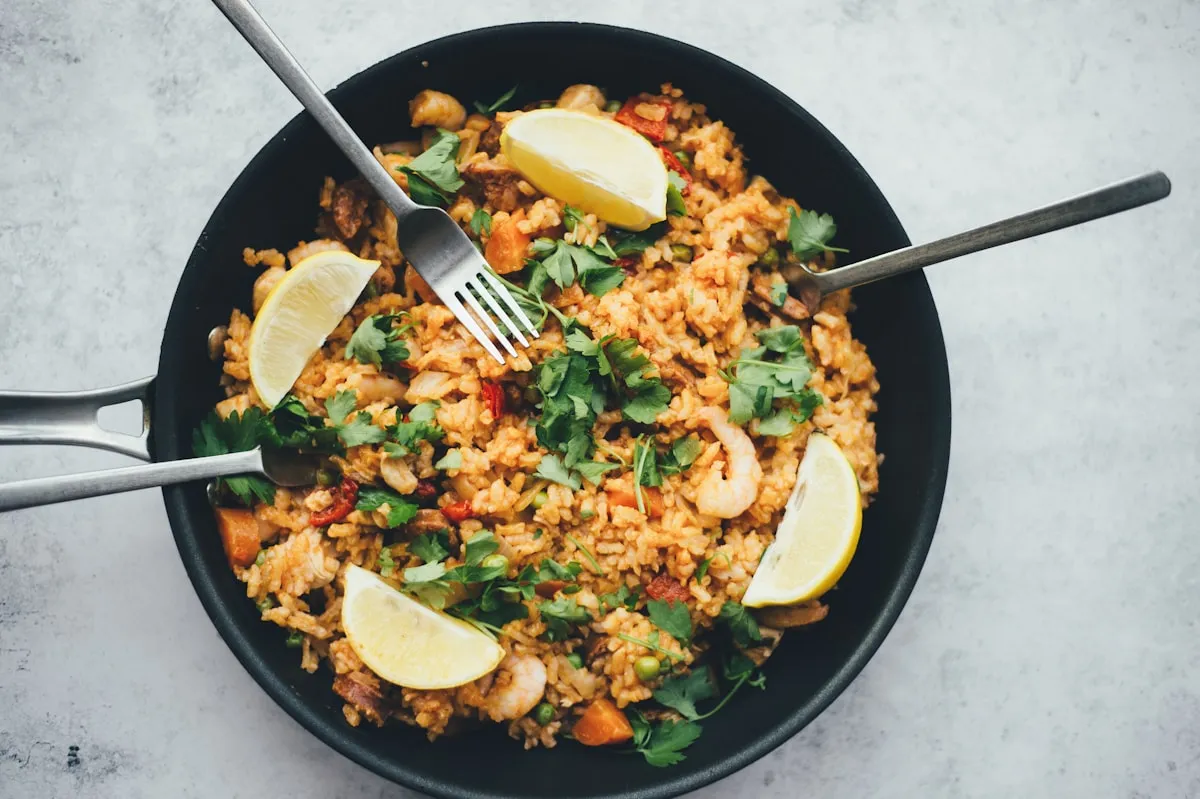
If you have ever opened a tub of store-bought hummus only to find it’s as dry as a desert and twice as bland, we need to talk. Making your own hummus is one of those "kitchen wins" that makes you feel like a culinary genius with minimal effort. It is the ultimate picnic staple: portable, protein-packed, and practically begs for a sunny afternoon and a crusty loaf of bread. Forget the gritty, sad versions from the supermarket; I am going to show you how to achieve that restaurant-quality silkiness that will make your next outdoor gathering legendary.
The Science of the Smooth: Mastering the Texture
The secret to hummus that feels like velvet on your tongue isn't just a high-powered blender; it is actually all about chemistry and temperature. Most people make the mistake of using cold chickpeas straight from the can or the fridge. Stop doing that immediately. If you want your hummus to be truly smooth, you must embrace the heat.
Start by overcooking your chickpeas. Even if you are using canned ones, toss them into a pot with a pinch of baking soda and boil them for about 15 minutes. The baking soda increases the pH of the water, which helps break down the pectin and hemicellulose in the chickpea cell walls. You want them so soft they practically disintegrate when you look at them. This ensures the blender doesn't have to fight against tough skins to get a fine puree.
Next, focus on the emulsion. Think of hummus as a stable marriage between fat and water. To get that light, whipped consistency, you need to whip your tahini and lemon juice first. This creates a thick, pale base that acts as an emulsifier. When you add your steaming hot chickpeas to this mixture, the heat makes the starches more flexible, allowing them to integrate perfectly with the fats.
Don't be afraid to use ice! It sounds counterintuitive, but adding a couple of ice cubes or a splash of ice-cold water while the blender is running helps aerate the mixture and stabilize the fat. This results in a paler, fluffier hummus that looks professional. Blend for at least three to five minutes: longer than you think you need: to ensure every single fiber is obliterated.
If you're planning a full spread, this hummus fits perfectly alongside some quick family meals that you can prep ahead of time. It’s a great way to round out a table of healthy dinner ideas without spending hours over a hot stove.
Vibrant Variations for Your Picnic Basket
Once you have mastered the classic base, it is time to get creative. Hummus is essentially a blank canvas, and for a summer picnic, you want flavors that are bright and refreshing.
For a burst of garden freshness, try a Basil Hummus. Simply blend a large handful of fresh basil leaves into your finished base. It turns a beautiful pastel green and pairs amazingly with sun-dried tomatoes. If you want something earthier, a Roasted Beet Hummus is the way to go. Not only does it turn a show-stopping magenta, but the natural sweetness of the beets balances the savory garlic perfectly.
If your family likes a bit of a kick, go for a Cilantro-Jalapeño version. Swap half the lemon juice for lime and throw in a charred jalapeño. This variation is a fantastic addition to your rotation of quick family meals, especially when served with tortilla chips instead of pita.
Perfect Pairings for the Ultimate Spread
A bowl of hummus is only as good as what you dip into it. For a picnic, you want a mix of textures: think "crunchy meets soft." Freshly grilled pita wedges are the gold standard, but don't overlook the power of a good seed cracker or even some sliced baguette.
For the veggie lovers, go beyond the standard carrot stick. Blanched snap peas, radishes, and even cucumber ribbons add a level of sophistication to your picnic basket. If you are looking for more healthy dinner ideas, consider serving your hummus as a base for grilled chicken skewers or as a spread inside a veggie wrap.
Since you are already thinking about effortless cooking, you might also consider adding some air fryer recipes dinner favorites like crispy chickpeas or air-fried halloumi. They provide a fantastic salty contrast to the creamy dip.
Frequently Asked Questions (FAQ)
Why is my hummus still grainy even after blending?
If your hummus feels like fine sand, you likely didn't cook your chickpeas long enough. The "tender" level you want for a salad is not the same as the "mushy" level you need for hummus. Boil those chickpeas until they are literally falling apart. Also, check your tahini quality; if the tahini itself is clumpy or separated, it won't emulsify properly.
Can I make hummus without tahini?
You can, but scientifically speaking, you are losing the primary emulsifier that gives hummus its body. If you have an allergy, try using sunflower seed butter or even a very smooth Greek yogurt. However, the flavor profile will shift significantly, and you won't get that iconic nutty depth.
How do I store hummus for a picnic so it doesn't get a "skin"?
The air is the enemy here. When packing your hummus in a container, level off the top with a spoon and pour a thin layer of extra-virgin olive oil over the surface. This creates a natural barrier against oxygen. Alternatively, press a piece of plastic wrap directly onto the surface of the hummus before sealing the lid.
Why does my hummus taste bitter?
Bitterness usually comes from two things: over-processing the garlic or using low-quality tahini. Garlic can become acrid if it's pulverized too intensely in a dry environment. To avoid this, blend your garlic with the lemon juice first and let it sit for a few minutes; the acid in the lemon juice "mellows" the raw garlic flavor.
How long will homemade hummus last?
Since it doesn't have the preservatives found in the store-bought tubs, your homemade version will stay fresh in the fridge for about 3 to 5 days. If you're taking it to a picnic, keep it in an insulated bag with an ice pack. It contains fresh lemon juice and garlic, which can lose their brightness if left in the sun for too long.
Can I use the liquid from the can of chickpeas?
Yes! That liquid is called aquafaba, and it is packed with proteins and starches that help with emulsification. Instead of plain water, use a few tablespoons of aquafaba to thin out your hummus. It results in a much creamier, more cohesive dip than water alone.
{“@type”:”BlogPosting”,”image”:[“https://cdn.marblism.com/b5tTd5BVyAy.webp”,”https://cdn.marblism.com/29HEsXRhPtp.webp”,”https://cdn.marblism.com/Tk0VfPeSV9c.webp”,”https://cdn.marblism.com/ZfbRh8EHS5x.webp”],”author”:{“name”:”Penny”,”@type”:”Person”},”@context”:”https://schema.org”,”headline”:”Easy Homemade Hummus: A Picnic Staple”,”publisher”:{“logo”:{“url”:”https://cookpedia.com/logo.png”,”@type”:”ImageObject”},”name”:”Cookpedia”,”@type”:”Organization”},”description”:”Learn the science behind ultra-smooth, restaurant-quality hummus at home. Perfect for summer picnics and healthy family meals.”,”datePublished”:”2026-05-19″,”mainEntityOfPage”:{“@id”:”https://cookpedia.com/easy-homemade-hummus-picnic-staple”,”@type”:”WebPage”}}