Recipe
Servings
Servings 1×
Ingredients
- Lentils
- Chickpeas
- Beans
- Greek yogurt
- Cucumber
- Avocado
- Onion
- Garlic
- Lemon
- Lime
- Honey
- Cooking oil
- Sesame
- Chili seasoning
- Salt
Method
- Pour them onto a clean kitchen towel and roll them around vigorously.
- Use a microwave for about eight to ten minutes on high before they ever see the oven.
- Use a high-smoke-point oil like avocado or grapeseed.
- Serve them over a bowl of thick Greek yogurt seasoned with cucumber and dill (essentially a deconstructed tzatziki) or sprinkle them over a velvety sweet potato soup.
If you have a can of chickpeas and some salt, you are roughly thirty minutes away from the most addictive snack in your pantry. Forget the expensive, store-bought lentil curls or artisanal veggie chips that cost as much as a fancy cocktail. These roasted chickpeas are the ultimate hack for anyone seeking quick healthy meals that actually satisfy a crunch craving. They are cheap, packed with protein, and endlessly customizable. I’ve spent more time than I’d like to admit perfecting the "crunch factor," and today, I’m sharing the non-negotiable science of how to get them perfect every single time.
The Science of the Perfect Crunch
Achieving a truly crispy chickpea, one that doesn't turn into a sad, chewy nub five minutes after leaving the heat, is entirely a battle against moisture. Chickpeas are naturally dense and water-logged, especially if they’ve been sitting in a can of brine. To turn them into a crispy snack, you must facilitate the most efficient evaporation possible.
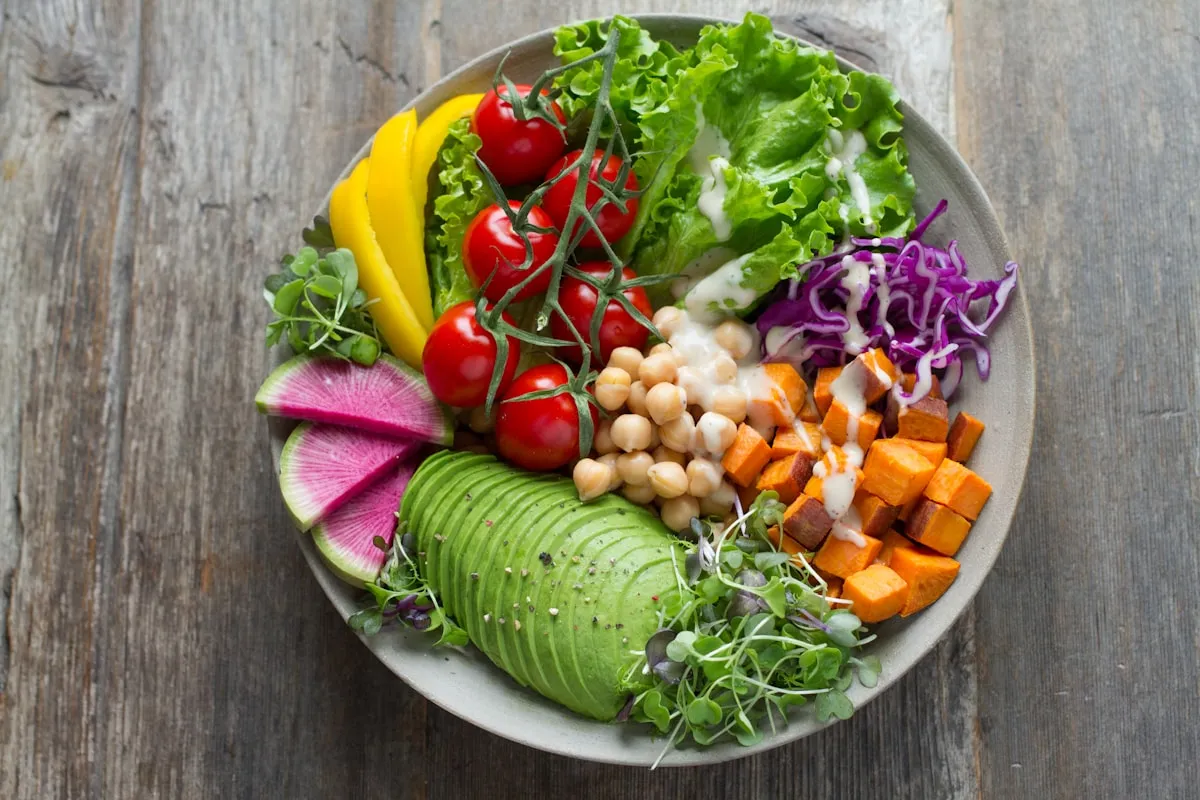
First, you must dry them. And I don’t mean a quick shake in a colander. Pour them onto a clean kitchen towel and roll them around vigorously. If the towel gets damp, get a second one. Any water left on the surface will turn into steam in the oven, and steam is the enemy of crispiness. This rolling motion also helps remove the loose, papery skins. While peeling every single chickpea is a task for people with far more patience than me, removing the ones that fall off naturally is a pro move. Those skins act as a barrier, trapping moisture inside the bean. Without the skin, the heat can penetrate the core of the chickpea directly.
One of my favorite budget friendly recipes tricks is to give the chickpeas a head start. Use a microwave for about eight to ten minutes on high before they ever see the oven. This forces internal moisture to the surface and begins the drying process without burning the exterior. Once they look slightly shriveled and matte, they are ready for the high heat of the oven or air fryer.
When it comes to oil, do not drown them. You want just enough to conduct heat across the surface of the bean. Use a high-smoke-point oil like avocado or grapeseed. If you use too much oil, you’ll essentially be shallow-frying them, which can make them heavy. If you’re looking for air fryer recipes dinner additions, the air fryer is actually superior to the oven here because the constant circulation of hot air whisks away that pesky steam even faster. Set your temperature to at least 400°F (200°C) to ensure the exterior sets before the interior has a chance to turn into mush.
Finally, do not pull them out and eat them immediately. Turn off the heat, crack the door open, and let them cool inside the appliance. This "resting" period allows the last bit of residual steam to escape, hardening the protein structure and ensuring that satisfying "snap" when you bite down.
Flavor Variations: Beyond the Salt
Once you master the base technique, the world of flavor is yours to conquer. The key to a great seasoning blend is balance. If you are going for something savory, you need a hit of acidity or heat to cut through the earthy, nutty flavor of the chickpea.
- The Zesty Mediterranean: Use dried oregano, garlic powder, and a heavy dusting of lemon zest. The citrus oils in the zest provide a bright top note that keeps the snack feeling light.
- The Smoky Heat: Combine smoked paprika with a pinch of cayenne and cumin. This is the ultimate "bar snack" vibe that pairs perfectly with a cold drink.
- The Sweet Cinnamon Crunch: For a dessert-leaning snack, use cinnamon and a tiny amount of coconut sugar. Because chickpeas are legumes, they have a natural sweetness that works surprisingly well with warming spices.
- The Everything Bagel: Use a pre-made everything seasoning. The toasted sesame seeds and dried onion add extra layers of texture that make these feel like a gourmet treat.
Avoid adding fresh herbs or wet sauces (like buffalo sauce or honey) before roasting. The moisture in these ingredients will ruin your hard work. Always apply dry spices after the chickpeas have roasted for about 20 minutes, or even right when they come out, to prevent the spices from burning and becoming bitter.
Elevate Your Plates: Side Dish Pairings
While these are a powerhouse snack on their own, they are also incredible components for healthy dinner ideas. Think of them as high-protein croutons. They bring a necessary structural contrast to softer dishes, which is the secret to a professional-tasting meal.
Try tossing a handful of these into a lush arugula salad, much like our Arugula Power Salad, where the peppery bite of the greens is balanced by the salty, earthy crunch of the beans. The richness of the chickpeas also works wonders when paired with creamy elements. Serve them over a bowl of thick Greek yogurt seasoned with cucumber and dill (essentially a deconstructed tzatziki) or sprinkle them over a velvety sweet potato soup. The acidity from a vinaigrette or a squeeze of fresh lime juice will cut through the density of the chickpeas, making the whole dish feel vibrant.
If you are meal prepping, keep the chickpeas in a separate container and add them only at the last second. This preserves the texture and prevents them from soaking up the dressing of your salad or the moisture from your grains.
FAQ: Troubleshooting Your Crunch
Why are my chickpeas still soft in the middle?
This usually happens because the oven temperature was too low or you didn't dry them enough before roasting. If the exterior browns before the interior dries out, you get a "tough" rather than "crispy" result. Ensure your oven is fully preheated to 400°F and use the microwave trick mentioned above to kickstart the dehydration.
Can I use dried chickpeas instead of canned?
Absolutely. In fact, dried chickpeas that have been soaked and cooked specifically for roasting often yield a superior crunch because they haven't been sitting in liquid for months. However, they must be fully cooked (tender but not falling apart) before you start the roasting process. If you use undercooked dried beans, you'll end up with little rocks that might genuinely break a tooth. Stick to canned if you want quick healthy meals without the overnight soak.
How do I store them so they stay crispy?
This is the million-dollar question. The truth is, roasted chickpeas are best eaten within a few hours. If you must store them, do not put them in an airtight plastic container or the refrigerator; the trapped moisture will turn them soft instantly. Instead, store them in a glass jar with the lid slightly ajar or a brown paper bag at room temperature. This allows any remaining moisture to vent.
Are they really a good protein source?
Yes! A single cup of chickpeas provides about 15 grams of plant-based protein. When you roast them, you are essentially concentrating that nutrition by removing the water weight. They are an excellent way to add satiety to a simple vegetable-based dinner without needing to prep meat.
What oil is best for roasting?
Avoid extra virgin olive oil for the high-heat roasting phase, as its smoke point is a bit low and it can develop an "off" flavor at 400°F. Use a refined olive oil, avocado oil, or even melted ghee for a richer, buttery finish. Save the fancy, flavorful olive oils for a final drizzle after they come out of the oven.
Check your chickpeas often during the last five minutes of cooking. They can go from perfectly golden to burnt very quickly. Use your nose: if you start to smell a deep, nutty aroma, they are likely done. Enjoy the crunch!