Recipe
Servings
Servings 1×
Ingredients
- Pork
- Honey
- Mustard
Method
- Pat the pork chops thoroughly dry before seasoning or cooking.
- Add the sweet glaze later.
- Use chops that are roughly three-quarters of an inch to one inch thick.
- Heat a heavy skillet until the cooking fat shimmers, then add the chops without crowding them.
- Let the chops sit undisturbed long enough to develop a golden crust.
- Use an instant-read thermometer and cook the thickest part of each chop to 145°F (63°C), followed by a short rest.
Pork chops have a bad reputation for turning dry, but that usually comes down to two mistakes: too much moisture on the surface and too much heat for too long. Fix those, and you get a deeply browned crust, a juicy center, and a honey mustard glaze that clings instead of sliding sadly onto the plate. This is one of my favorite quick family meals because it feels special without demanding a whole evening at the stove.
Tips & Technique: Build the Crust Before You Add the Glaze
Start With a Dry Surface
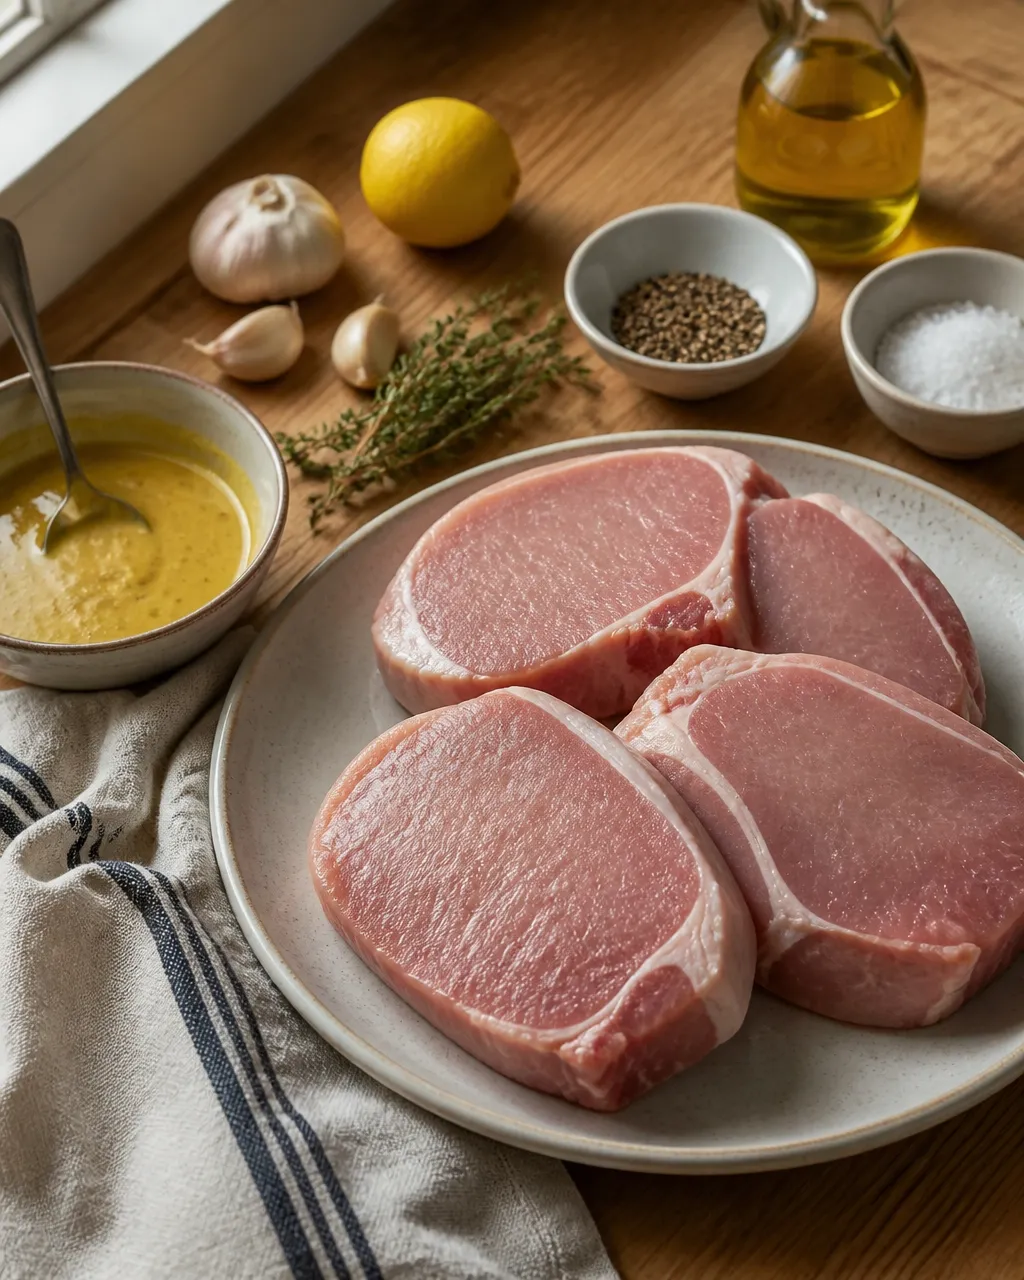
Pat the pork chops thoroughly dry before seasoning or cooking. This is non-negotiable.
Surface moisture has to evaporate before browning can begin. As long as water is sitting on the meat, the pan spends its energy boiling that water away. The temperature stays close to the boiling point of water, which is far too low for the rich browning you want.
A dry surface heats more efficiently and gives the proteins and sugars on the exterior a chance to react. That reaction is the Maillard reaction, the chemistry responsible for the savory, nutty flavor and golden-brown color we associate with a great sear.
Do not confuse a browned crust with a sugary glaze. Build the savory crust first. Add the sweet glaze later.
Choose Chops With Some Thickness
Use chops that are roughly three-quarters of an inch to one inch thick. Thin chops cook quickly, which sounds helpful until the outside is browned and the center is already overdone. Thicker chops give you a wider window between “beautifully cooked” and “why is this so chewy?”
Bone-in chops can be especially forgiving because the bone slows heat transfer around part of the meat. Boneless chops work well too, but watch them closely. Cooking time depends on thickness, not optimism.
If the chops have a visible fat edge, score it lightly and briefly hold that edge against the hot pan. This helps render some of the fat and prevents the chop from curling. It also gives you a crisp, savory little bonus for your efforts.
Give the Pan Room to Work
Heat a heavy skillet until the cooking fat shimmers, then add the chops without crowding them. Leave space around each piece.
Crowding traps steam. Steam softens the surface, lowers the pan temperature, and turns a sear into a pale simmer. You want direct contact between the hot pan and the meat, not a pork chop sauna.
Let the chops sit undisturbed long enough to develop a golden crust. Moving them too soon can tear the surface and interrupt browning. When the meat releases easily, it is usually ready to turn. If it feels glued to the pan, give it another moment.
Treat Honey as a Finishing Ingredient
Honey contains simple sugars that brown quickly. That is excellent news for flavor and terrible news if you brush it onto raw pork before the pan is properly hot.
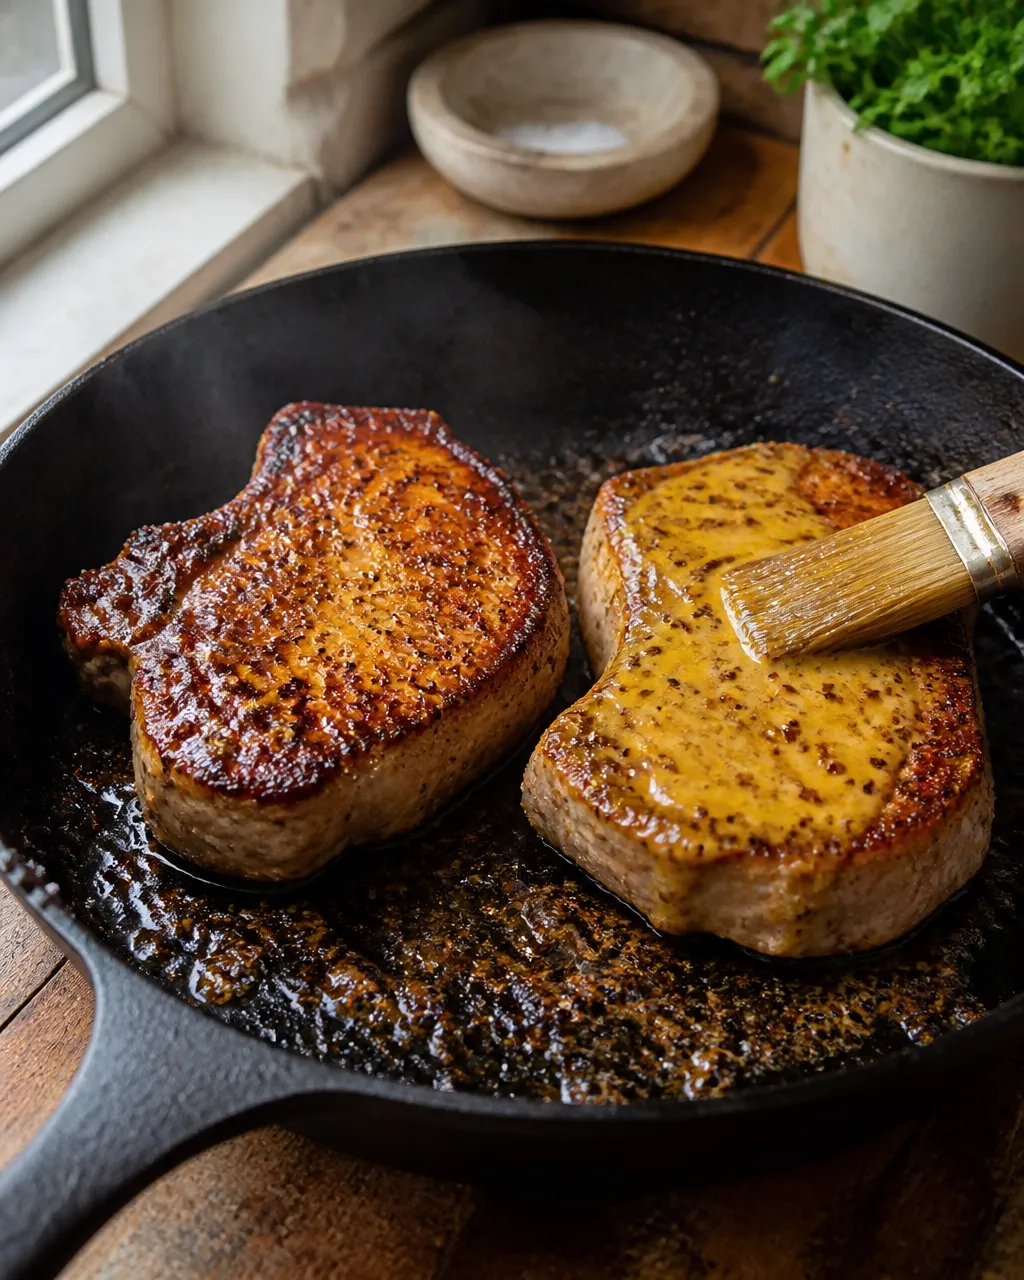
Apply the honey mustard glaze late in cooking, after the meat has developed its crust. The remaining heat will caramelize the sugars and create a sticky, bronzed coating without giving them enough time to burn. Keep the glaze thin. A heavy layer can scorch on the outside while the chop is still cooking in the center.
Mustard brings more than sharp flavor. Its acidity cuts through the sweetness of honey and the richness of the pork, while its pungent compounds mellow as they warm. That is why the finished glaze tastes rounded rather than aggressively vinegary or sugary.
For the best texture, think of the glaze as a lacquer, not a braising liquid. Coat the chops lightly and allow the sauce to set. Do not drown the crust.
Control the Center With a Thermometer
Use an instant-read thermometer and cook the thickest part of each chop to 145°F (63°C), followed by a short rest. The thermometer should not touch the bone.
Pork can look slightly pink at this temperature and still be safely cooked. Color alone is not a reliable doneness test, especially when the outside has been browned and coated with mustard. Temperature gives you useful information; guesswork gives you dinner anxiety.
Remove the chops as soon as they reach the target temperature. Heat continues moving inward for a little while after cooking, so the center may rise slightly during the rest. That short pause also allows the juices to redistribute instead of running across the cutting board.
Follow the food-safety guidance from the USDA’s pork cooking recommendations, and use a clean plate for the cooked chops.
Rest Before You Slice
Rest the pork for three to five minutes. Yes, even when everyone is hungry and someone is already asking whether dinner is ready.
Cutting immediately releases more of the meat’s moisture onto the plate. Resting gives the contracted muscle fibers time to relax and hold onto more juice. It also lets the glaze settle into a slightly tacky finish, so it stays on the pork rather than pooling underneath it.
For more practical weeknight cooking guidance, browse Cookpedia’s quick meals collection. The same principles show up repeatedly: manage moisture, use heat intentionally, and stop cooking when the food is ready rather than when the timer tells you to.
Variations: Change the Balance, Not the Method
Once you understand the crust and glaze timing, you can take these pork chops in several directions without losing their best qualities.
For a sharper version, increase the mustard and finish with a small splash of apple cider vinegar. The extra acidity cuts through the honey and makes the pork taste lighter. Add it at the end so the flavor stays bright.
For a smoky variation, use smoked paprika and a pinch of chili powder in the seasoning. Keep the glaze fairly classic; the smoky crust already brings plenty of personality. This version fits neatly into a rotation of healthy dinner ideas because a little spice creates impact without relying on a heavy sauce.
For an herby version, add rosemary, thyme, or sage to the glaze. Fresh herbs can darken quickly in a hot pan, so stir them in near the end or use them as a finishing touch.
You can also replace some of the honey with maple syrup for a deeper, warmer sweetness. Maple browns quickly too, so keep the same late-glaze rule. Do not apply it early and hope for the best. Hope is not a cooking technique.
If you prefer a lighter finish, thin the glaze slightly with lemon juice or a little stock. A more fluid sauce will not cling quite as thickly, but it will bring extra acidity and make the plate feel less rich.
Side Dish Pairings: Add Contrast to the Plate
Honey mustard pork chops are savory, sweet, tangy, and fairly rich. Pair them with sides that refresh the palate or provide a neutral place for the glaze to land.
Roasted vegetables are an easy match, especially Brussels sprouts, carrots, broccoli, or sweet potatoes. Their browned edges echo the crust on the pork, while a squeeze of lemon keeps the meal from becoming too sweet. Cook them in the air fryer using Cookpedia’s crispy roasted vegetable guide if you want the side moving quickly.
For something softer, serve the chops with mashed potatoes, rice, or a simple grain. These absorb the extra glaze and keep the pork from carrying the entire meal.
Add a crisp green salad with a sharp vinaigrette when you want more freshness. Bitter greens, cucumber, cabbage, and lemony dressing all work because acidity and crunch counter the tender meat and sticky sauce. That balance is the secret to making quick family meals feel complete rather than merely fast.
FAQ: What If the Pork Chops Go Wrong?
What if my pork chops are dry?
Check the internal temperature first. Pork chops usually become dry because they have been cooked beyond their ideal temperature, not because they needed more time to “finish properly.” Use thicker chops, monitor the center with a thermometer, and remove them at 145°F before resting.
Also check whether your chops are very thin. Thin cuts have almost no buffer between a browned exterior and an overcooked center. Reduce the cooking time and rely on temperature rather than the clock.
What if the glaze burns?
The honey was probably added too early, the pan was too hot, or the glaze was applied too thickly. Scrape away any burnt coating, lower the heat, and brush on a fresh, thin layer near the end.
Do not keep cooking a dark glaze in the hope that it will somehow become less burnt. Sugar moves in one direction once it scorches.
What if the pork is cooked but the crust is pale?
Start with a drier surface and a hotter pan. Avoid adding the chops until the fat is shimmering, and leave enough space between them for moisture to escape.
You may also be turning the chops too soon. Let the first side remain in contact with the pan until it develops a firm golden crust. If the chops release easily, that is a useful sign that browning has done its work.
What if the pork chops curl in the pan?
Trim excess fat or score the fat edge before cooking. As the fat contracts, it can pull the meat into a curved shape, which reduces contact with the pan. Briefly searing the fat edge helps render it and keeps the chop flatter.
Do not press down on the meat constantly. Pressing may improve contact for a moment, but it also squeezes out moisture. Use the edge-searing trick instead.
Can I use boneless pork chops?
Yes. Boneless chops cook well, but they are less forgiving because heat moves through them quickly. Choose evenly thick pieces and begin checking their temperature early.
If your boneless chops are thin, skip aggressive extended searing. Brown them quickly, add the glaze late, and remove them as soon as the center reaches 145°F.
Can I make these with an air fryer?
You can, although the skillet gives you the strongest crust and the most flavorful pan fond. For air fryer recipes dinner planning, cook the pork without the honey glaze at first, then brush it on during the final few minutes. This prevents the sugars from burning under intense circulating heat.
Leave space around each chop, and check the center with a thermometer. Air fryers vary, and pork does not care what the appliance manual promised.
How should I reheat leftovers?
Reheat gently in a covered skillet over low heat with a small splash of water or stock. Stop as soon as the pork is warmed through. High heat will cook the meat again and make it firmer.
Slice leftovers thinly and serve them cold or barely warm over greens, tucked into a sandwich, or alongside roasted vegetables. The glaze is often even more noticeable the next day, so keep the reheating mild and let the sauce do the talking.